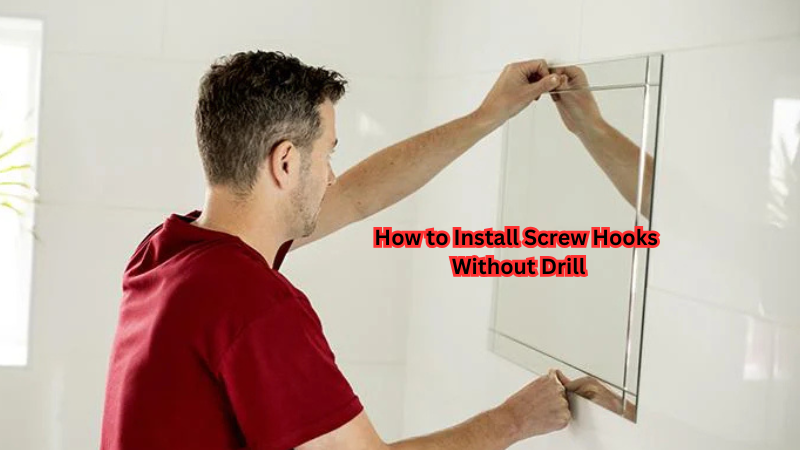
Installing screw hooks without a drill offers a practical and convenient solution for those who lack access to power tools. This method is ideal for various applications, such as hanging decorations, organizing spaces, or securing items, making it a versatile choice for any home project.
By using simple tools like a screwdriver, hammer, or nail, you can easily create pilot holes and manually secure the hooks with minimal effort.
This straightforward approach not only simplifies the process but also ensures effectiveness for small projects or quick fixes. Embrace this hassle-free technique to tackle home improvements with confidence, even in spaces where power tools aren't an option.
What is a Screw Hook?
Before we dive into the installation process, it's essential to understand what screw hooks are and how they work.
Screw hooks, also known as eye screws or vine eyes, are small metal hooks with a sharp point on one end and a circular eye on the other. They come in different sizes and materials such as stainless steel, brass, or zinc-plated steel.
These versatile hardware pieces can be used for hanging items like plants, pots, lights, or even curtains. Additionally, they provide a secure anchoring solution for wires, ropes, chains, or strings to support objects from ceilings or walls.
Importance of Proper Installation
Proper installation of screw hooks is crucial for the functionality and durability of your project.
If not installed correctly, the hooks can loosen or damage the surface, leading to potential safety hazards and costly repairs. Therefore, it's essential to follow the recommended installation guidelines and use the right tools for a successful outcome.
Furthermore, ensuring that the hooks are correctly installed will provide peace of mind and guarantee that your project stays in place for an extended period. Also, it allows for easy removal or adjustments if needed in the future.
How to Install Screw Hooks Without Drill
Now we tell you different ways to install screw hooks without using a drill. Whether you're hanging a picture frame or creating a DIY project, these methods will help you get the job done with ease.
Method 1: Using a Screwdriver
The most popular and accessible way to install screw hooks without a drill is by using a screwdriver. Follow these simple steps for a successful installation:
- Start by marking the spot where you want to install the hook with a pencil or marker.
- Hold the screw hook firmly in one hand, ensuring that the eye is facing up.
- With the other hand, use the tip of the screwdriver to create a small pilot hole in the marked spot. Apply downward pressure while rotating the screwdriver clockwise until it penetrates about an inch into the surface.
- Once you have created a pilot hole, remove the screwdriver and insert one end of the screw hook into the hole. Slowly turn it clockwise, applying downward pressure until the screw is fully embedded in the surface.
- To ensure a secure hold, use pliers to grip the eye of the screw and twist it slightly until it's firmly in place.
Method 2: Using a Hammer or Nail
Another straightforward approach for installing screw hooks without a drill is by using a hammer or nail. Here's how you can do it:
- Start by marking the spot where you want to install the hook with a pencil or marker.
- Hold the nail with pliers to prevent any accidental injuries while hammering.
- Place the sharp end of the nail at an angle on top of the marked spot and gently tap it with a hammer. This will create a small indentation or pilot hole.
- Remove the nail, and using pliers, insert one end of the screw hook into the created hole. Slowly turn it clockwise while applying downward pressure until it's fully embedded in the surface.
- Finally, to ensure a secure hold, use pliers to grip the eye of the screw and twist it slightly until it's firmly in place.
Method 3: Using a Screwdriver Bit
If you have access to a power drill but don't have a drill bit that fits your screw hook, you can use a screwdriver bit instead. Here's how:
- Start by selecting a screwdriver bit that fits the size and shape of your screw hook.
- Hold the bit with pliers to prevent any accidental injuries while rotating.
- Place the tip of the bit on top of the marked spot and gently rotate it clockwise until it creates a small indentation or pilot hole.
- Once you have created a pilot hole, remove the bit and use pliers to insert one end of the screw hook into the hole. Slowly turn it clockwise while applying downward pressure until it's fully embedded in the surface.
- Finally, use pliers to grip the eye of the screw and twist it slightly for a secure hold.
These methods are suitable for various surfaces such as wood, drywall, or plaster. However, if you're working with a harder surface like concrete or brick, it's recommended to use a drill with a masonry bit for optimal results.
Safety Tips
While installing screw hooks without a drill can be a simple and efficient process, it's essential to keep safety in mind. Here are some tips to ensure a safe installation:
- Always wear protective gear, such as gloves and goggles, when handling tools.
- Use pliers to hold the screw hook or nail while hammering to prevent any accidental injuries.
- Be cautious of the surface material you're working with, as some may require different techniques or tools for successful installation.
- If you feel unsure about creating pilot holes manually, consider using anchor screws instead. These come with pre-drilled holes and provide extra stability for heavier objects.
Is Wood Filler Necessary for Screw Hook Installation?
While it's not necessary to use wood filler for screw hook installation, it can be beneficial in some cases.
If you're working with a surface that has cracks or holes, using wood filler before installing the screw hook can provide extra support and stability. This is especially helpful when hanging heavier objects that may put strain on the surface.
Additionally, wood filler can help prevent the screw from loosening over time as it fills any gaps or irregularities in the surface. However, if you're working with a smooth and sturdy surface, wood filler may not be necessary.
Avoid These Mistakes
To ensure a successful installation, it's essential to avoid making common mistakes that can compromise the functionality and durability of your project. Here are some things to avoid:
- Not creating pilot holes: This mistake can cause the screw hook to loosen or damage the surface over time.
- Using the wrong tools: Using a drill bit that is too big or small can result in an unstable hold or damage to the surface.
- Not using protective gear: Always prioritize your safety when handling tools. Accidents can happen, and it's best to be prepared.
FAQs
How do you install screw anchors without a drill?
To install screw anchors without a drill, you can use a hammer or nail to create a pilot hole and then insert the anchor using pliers. Alternatively, you can use a screwdriver bit to manually create the pilot hole before inserting the anchor.
Can I remove a screw hook without damaging the surface?
Yes, it's possible to remove a screw hook without causing damage to the surface. You can do this by turning the screw counterclockwise with pliers until it's loose enough to be removed by hand.
What materials are suitable for installing screw hooks without a drill?
Screw hooks can be installed on various surfaces such as wood, drywall, plaster, and even concrete or brick. However, the methods and tools used may vary depending on the surface material.
Conclusion
In conclusion, installing screw hooks without a drill is a straightforward and practical method that anyone can undertake.
By utilizing basic tools like a screwdriver, hammer, and nail, you can easily create pilot holes and secure hooks with minimal effort. This approach not only simplifies the process but also provides effective results for various home projects, from organizing spaces to hanging decorations.
Embrace these techniques to confidently tackle tasks without the need for power tools, ensuring accessibility for all. The satisfaction and empowerment derived from completing these projects independently highlight the value and versatility of this method, encouraging you to explore more DIY solutions at home.


